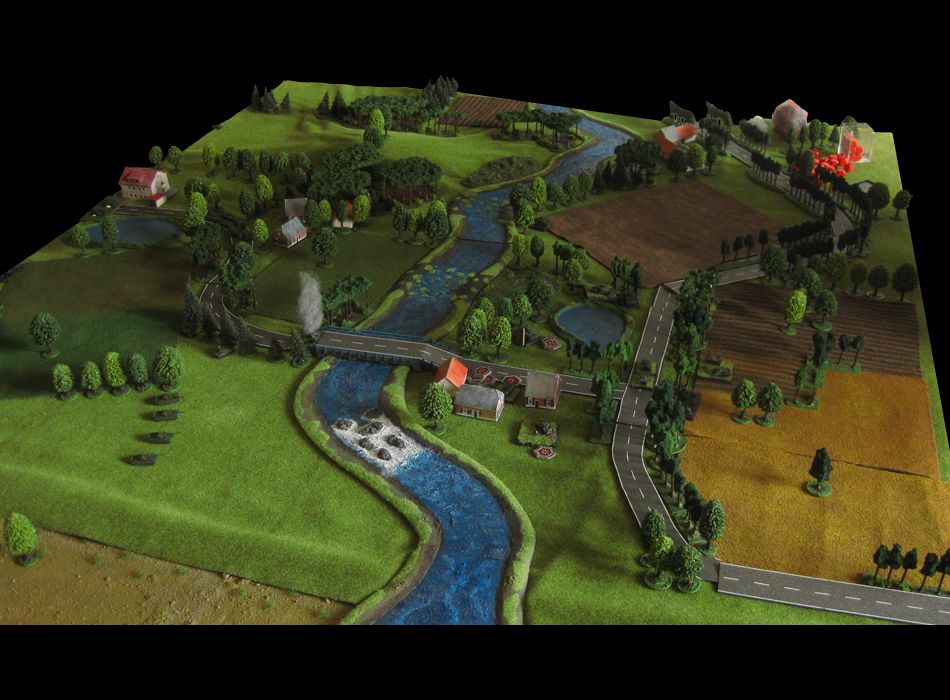
Yesterday I got to play with the new terrain pieces I recently made for the first time. My glorious East Germans in their T-72 of superior design faced a force of capitalist pig aggressors.

Now before you read on, there are two things to keep in mind: We did not do any research for a scenario, nor are we yet proficient enough in the rules to play smart and fast. Instead we played slowly and... not so smart at times. We also forgot a few things, likle rolling for air superiority, which likely cost the Brits the game. But as simple test game to get into the rules, our battle yesterday served its purpose.
British Army Battlegroup
CO (10)
Rifle Section w/ Carl Gustav
Scorpion Recce Section
HQ (9)
3x Challenger I
HQ (9)
4x Warrior IFV
4x Rifle Section
Kampfgruppe der Nationalen Volksarmee
CO (10)
2x Sfl 23-4 Shilka
Vorgeschobener Artilleriebeobachter (FAO)
3x Sfl 152 2S3
Fliegerleitoffizier (FAC)
1x Mi-25
HQ (8)
4x T-72M1[/i]
HQ (8)
4x T-72M1
HQ(8)
4x Mot. Schützen [conscripts]
4x SP-1 [BMP-1]
HQ (8)
4x Mot. Schützen [conscripts]
4x SP-1 [BMP-1]
The British recce got a bit careless and was shredded by two Shilkas that had advanced up to a tree line. And then the battle was on.
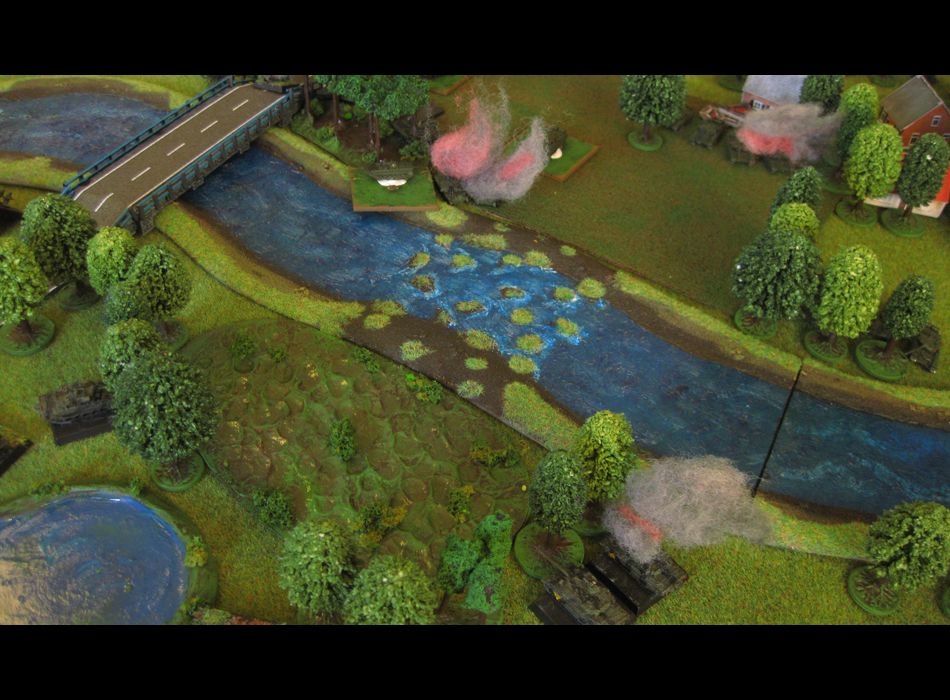
This was just the first bad news for the British, as it became evident that they faced an armoured battalion with mechanized infantry and heavy artillery in support. The scheduled artillery strikes of the NVA suppressed the vehicles and HQ that had taken up positions within a small courtyard by the bridge, that led straight to the objective, a crossroads on the NATO side of the river.
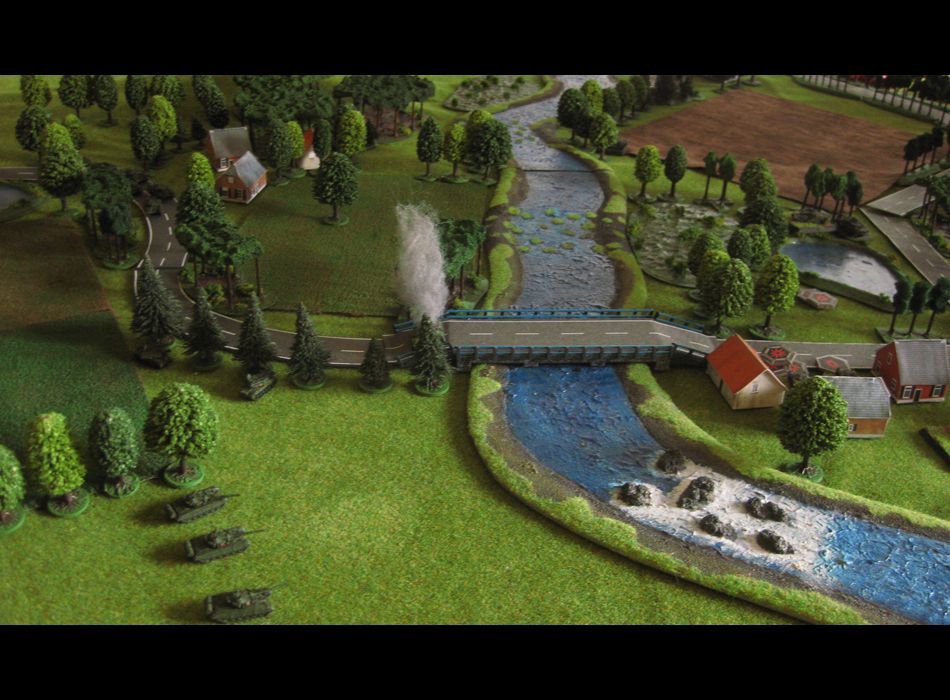
After some difficulties in the chain of command (only got the first move order for my left flank tank company through...) and a resulting traffic jam on the MSR (BMPs couldn't/shouldn't overtake), the tanks finally got into position - but the Challengers were waiting for them, giving opportunity fire.
Luckily for the East Germans, the second order the Challengers were supposed to execute in their first turn, ended in a command blunder: -1 to all rolls in the next turn!
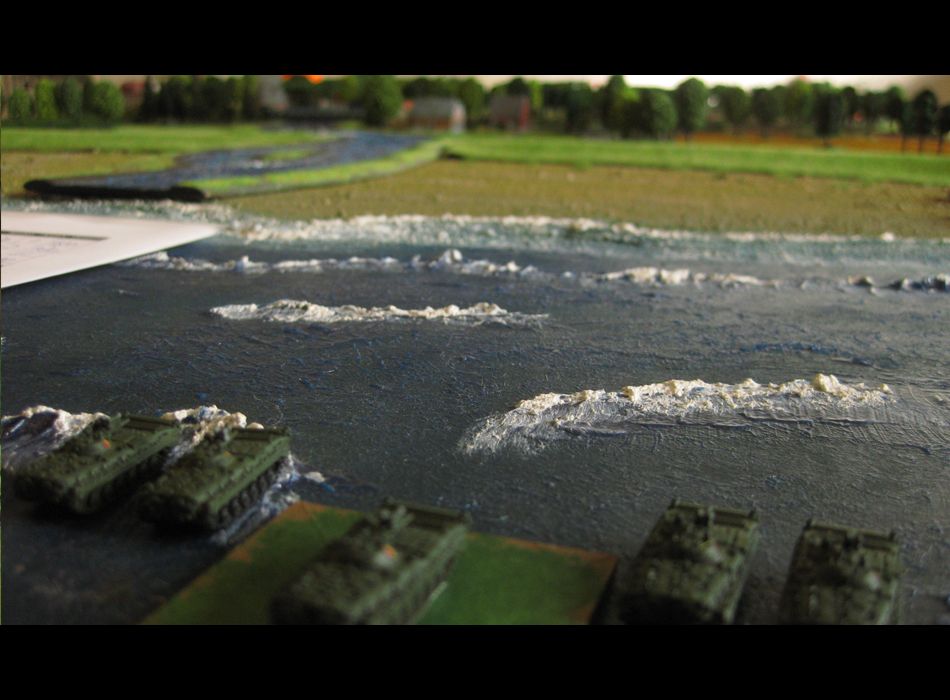
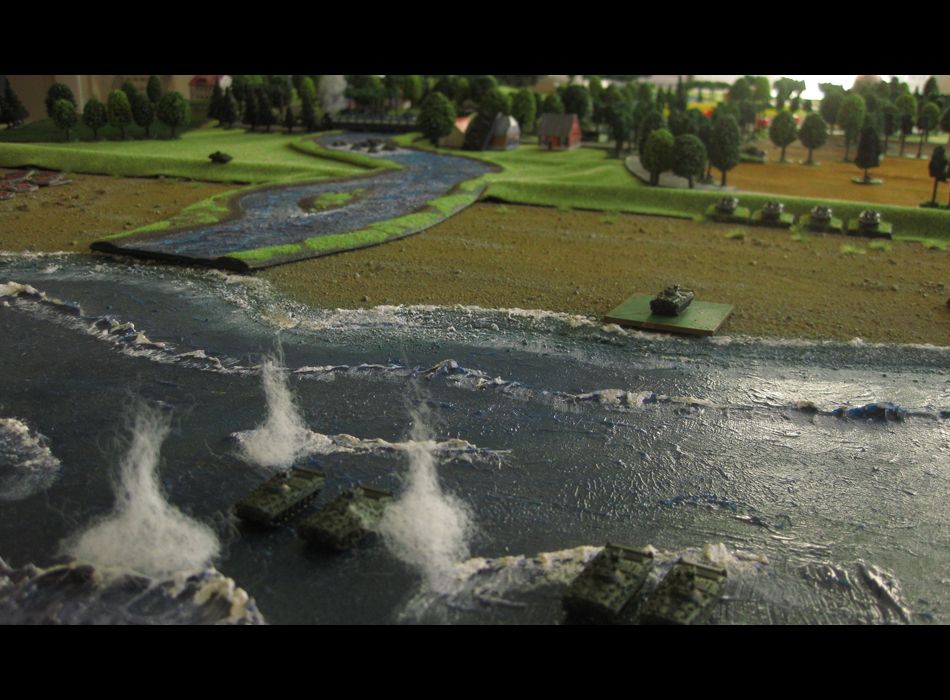
To pressure the Brits into splitting their thinly held line, the East German command sent a landing force that launched a flanking maneuver from the baltic sea. Unfortunately they would not get very far: 5cm per movement order isn't much, and I only got one order through per turn...
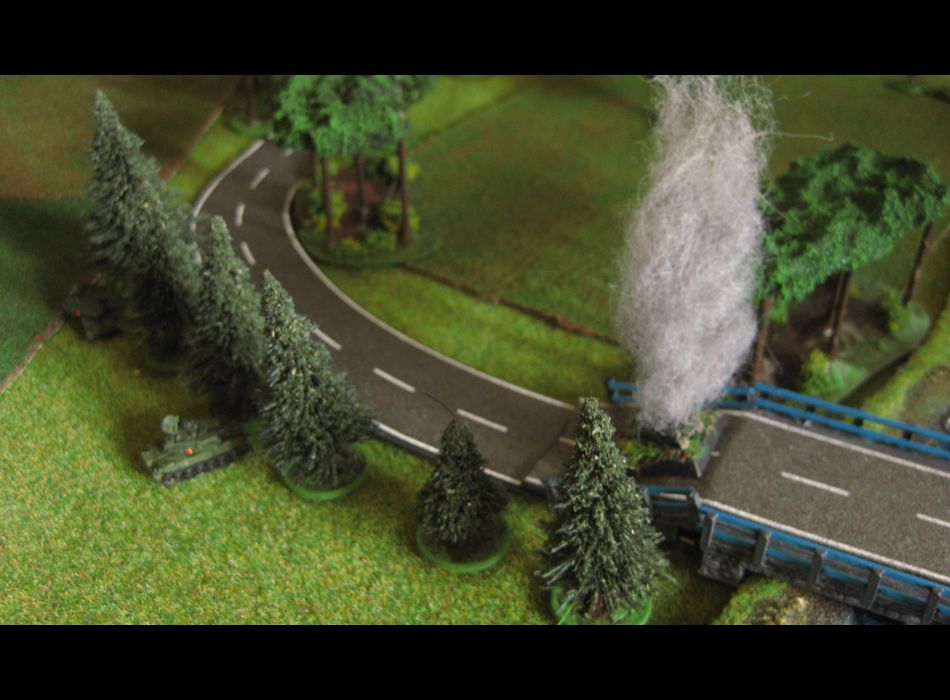
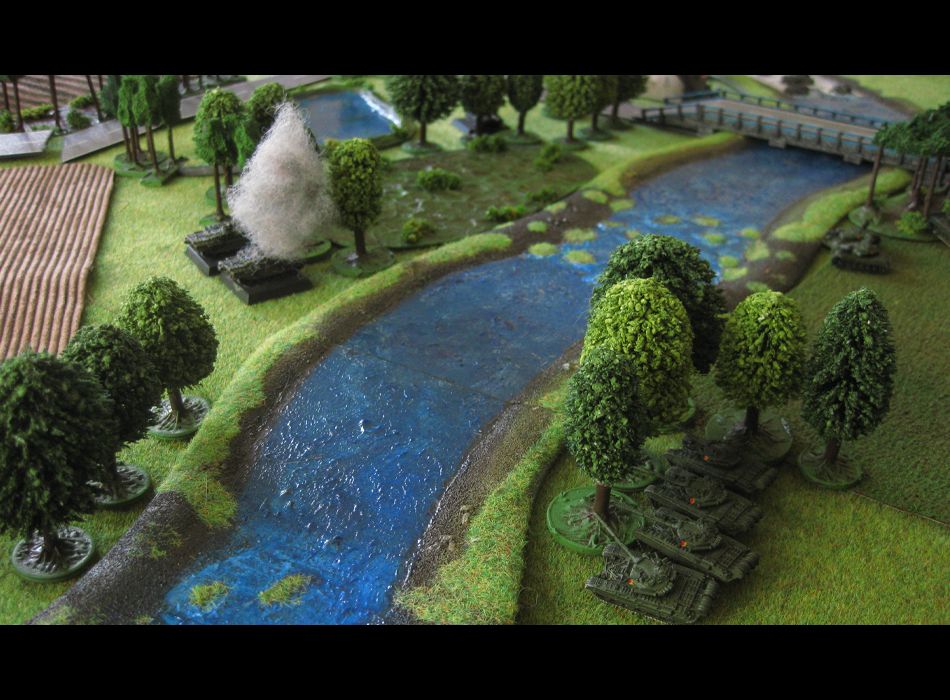
T-72M1s of the first Panzer company managed to take out one of those nasty challengers, by repositioning into a tree line, off its flank. It still took a LOT of hits, before it finally went down. 3+ armour saves are insane...
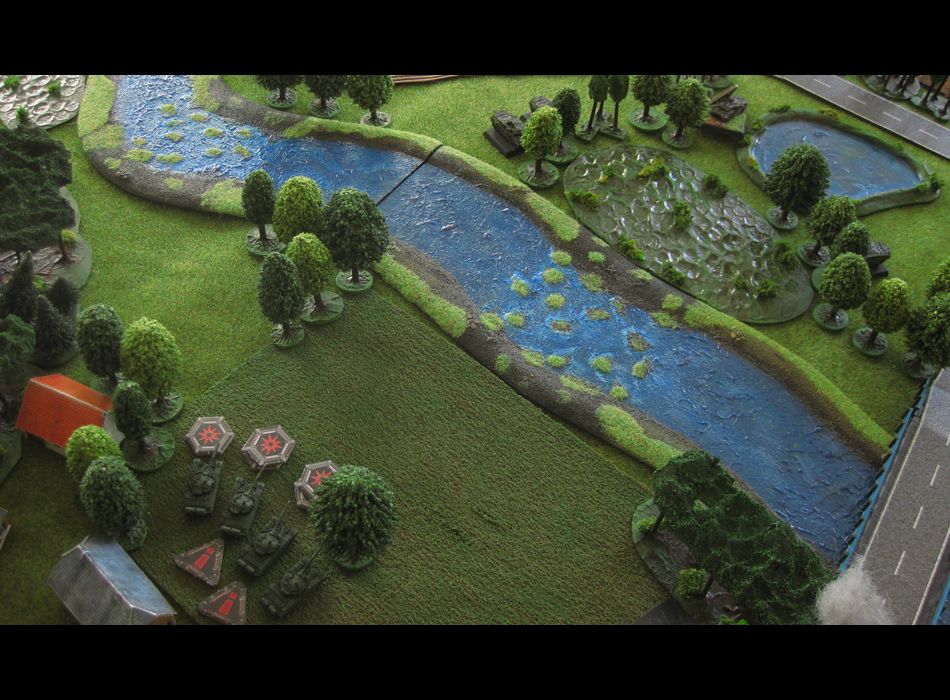
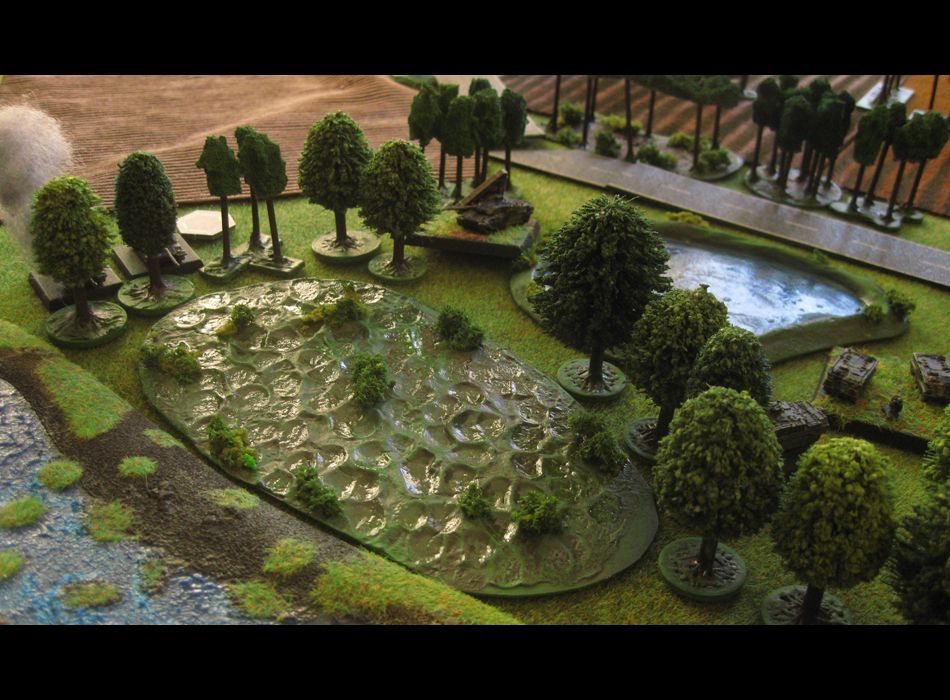
Located around a swamp, the perfect killzone for anyone silly enough to attempt to ford the river, the Challengers waited for prey throughout the game - and got plenty.
The second Panzer company moved up in support of their comrades, although some where still suppressed.
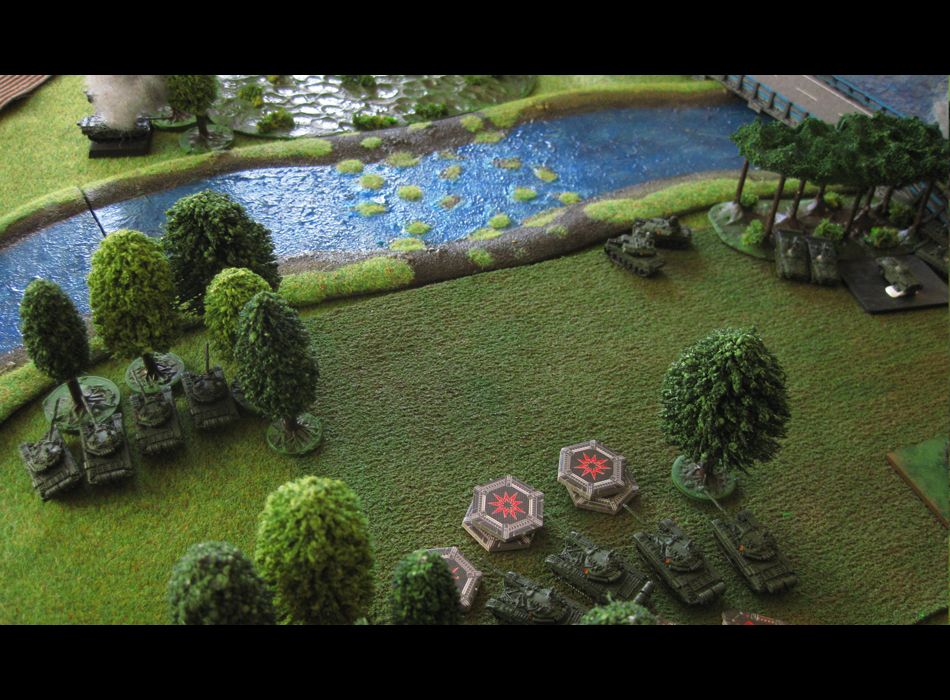
The British second turn was... insane. The Warrior APCs moved across the dike to fire upon the approaching BMPs and sunk two of them.
Then the Challys were up. We didn't expect much of them: one unit was knocked out, the command had a -1 modifier to any command rolls and since they had given opportunity fire, they got another -1, so the first command was on a score of 7 instead of 9. Boy did we underestimate British officers.
The Commander of the tank platoon started giving out orders to fire at any target that presented itself. Roll on 7, he rolled a 6, roll on 6, he scores a five, roll on a five, he scores a three, roll on four he scores double 1 - command bonus. It was a painfull turn for the T-72s and Shilkas. When the HQ failed to give that last shooting order, the CO (who had moved towards the front), jumped in and tried to push that order through. Double one. Another two shooting steps later 3 T-72s and two Shilkas were knocked out. Together with the two BMPs and infantry squads they transported, losses amounted to 9 teams already, while the East Germans had only taken out a scout vehicle and one tank this far. :S
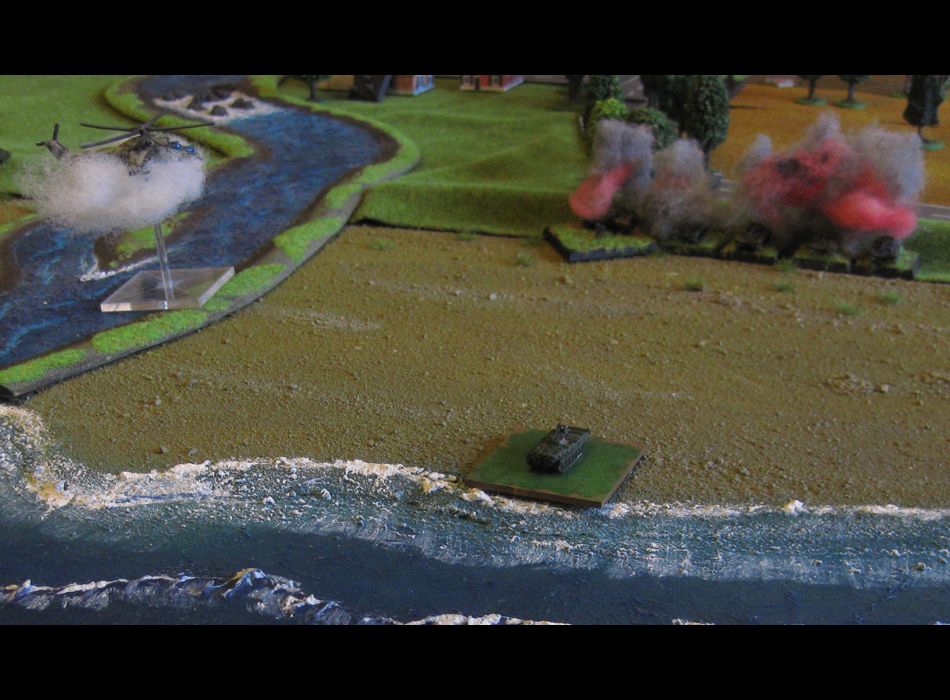
But revenge came swift and on rotary wings in the form of a Mi-25. The Warrior IFVs that had setup on the beach to counter my sorry excuse for a landing operation were spotted by an FAC, who immediately called in a gunship.
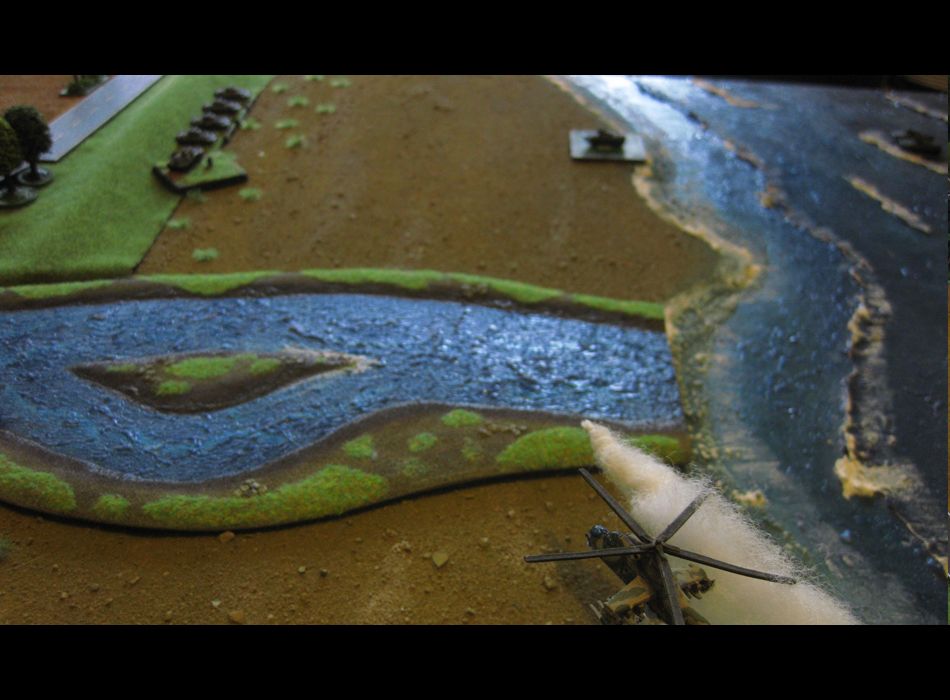
ATGM and rocket pods devastated the IFVs and their command team. AA fire was few and inaccurate, so the flying tank was able to bring its full might to bear.

It was a nice little game. We only played three turns before the game ended with the breaking of the British battlegroup (finally got the second Challenger!) and we had to look up things all the time (and even so missed a few things), but it was fun and I hope we get to play more in the future.
The "stress" and "critical hit" tokens from X-Wing make great counters for suppression and to keep track of how many hits a unit has acquired.